Handbag Hardware Basics: The Essential Parts Every Bag Needs
Handbag hardware shapes how a bag opens, carries, and looks. There is no single hardware set every design needs. This guide explains the common parts, the jobs they do, and how to build a useful component list for your bag.
What counts as handbag hardware
Handbag hardware covers the fittings used to close a bag, connect its straps, adjust how it is carried, secure attachments, protect exposed areas, or add a visible design detail. It is a narrower category than accessories for making bags, which can also include leather, lining, thread, and reinforcement.
Some parts do more than one job. A chain can carry the bag or serve as decoration. A turn lock closes a flap and draws attention to the front panel. What matters is the role the part has in your design, rather than its appearance alone.
Common handbag hardware parts and their uses
Chains and handle fittings
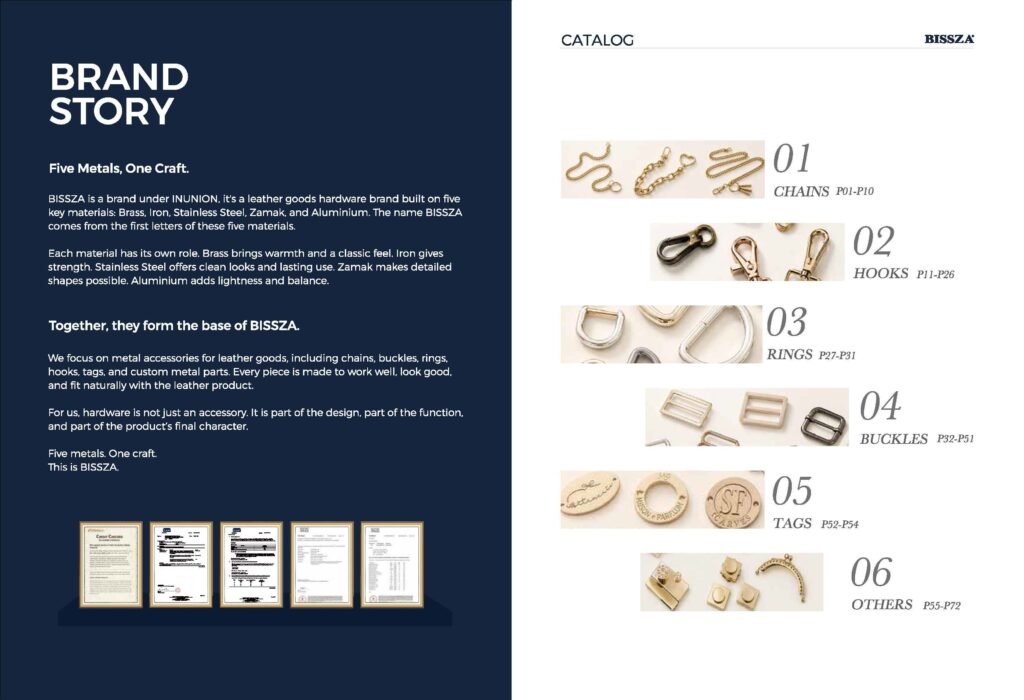
A chain changes both the way a bag is carried and the amount of visible metal in the design. It may form a shoulder strap, a short handle, or a decorative section. Handle rings and anchors connect a separate handle to the body.
Treat a chain strap as an assembly with end fittings. Its length, weight, and connection points affect how the finished bag hangs. BISSZA’s catalog includes assembled chains AC001–AC007, but does not state their finished lengths on those entries. Specify the intended carrying position rather than estimating length from the photograph.
Snap hooks and swivel hooks
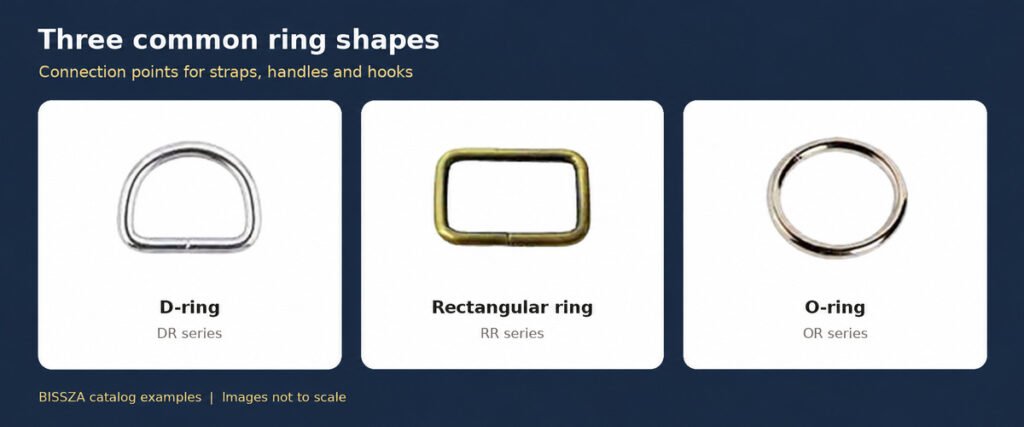
Snap hooks make a strap removable. A swivel connection also allows the strap end to rotate, which can help it lie more naturally during use. These fittings are useful when a design switches between a shoulder strap and hand carry.
The hook works with the ring, the strap end, and the leather tab on the bag. Its gate must open far enough to accept the ring. A small hook chosen only for its neat appearance may not give that connection enough clearance. BISSZA lists the brass BB4918D hook at 49 × 18 mm; confirm which measurement refers to the strap opening before using it in a pattern.
D-rings rectangular rings and O-rings
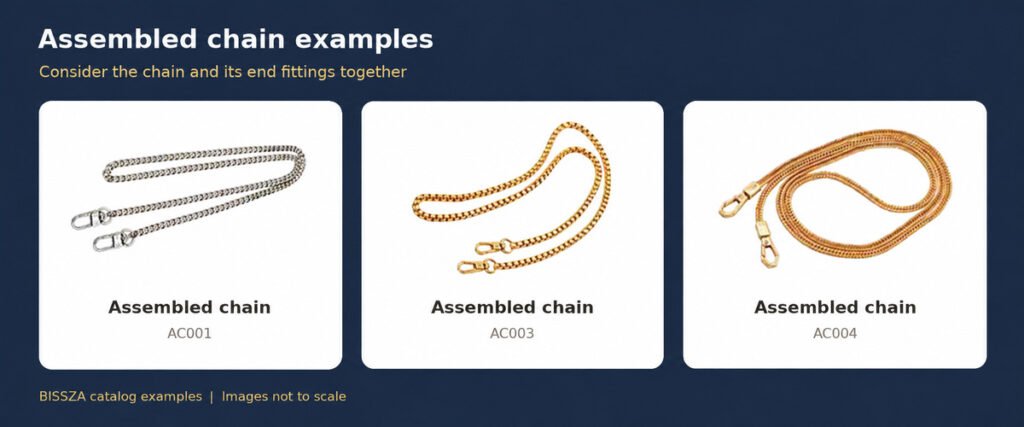
Rings provide connection points between straps, handles, hooks, and the bag body. A D-ring has a straight side that sits within a strap tab. A rectangular ring offers a straight opening for a flat strap. An O-ring allows a connection to move around its curved profile.
Read the inside measurement separately from the metal thickness. In BISSZA’s catalog, DR4025 is listed in steel/stainless steel with WD × ID of 4.0 × 25 mm. The two figures describe different dimensions; neither is a load rating. Confirm the selected material and how the mating hook moves around the ring.
Buckles and strap sliders
A pin buckle holds a strap at selected holes. A strap slider adjusts length through a threaded strap path. Both belong to bag hardware, but they require different strap construction.
For an adjustable crossbody strap, consider how the end returns through the hardware and where the spare length sits. A decorative buckle may look similar without providing the same adjustment. BISSZA’s brass BC2001 buckle has a catalog inner width of 20 mm. Confirm the finished strap width and thickness together; the inside width alone does not establish fit.
Logo plates tags and decorative fittings
Logo plates, metal lettering, charms, and decorative studs help establish a design’s identity. A small plate can keep the front panel restrained; larger lettering or a shaped fitting can make the branding more prominent.
Separate decoration from structural support. A hanging tag should not be treated as a strap anchor simply because both are metal. BISSZA’s catalog shows custom lettering and logo tags, but the dimensions and mounting details of those custom examples need to be confirmed for the design.
Others: fastening, protection and opening fittings
Rivets and Chicago screws
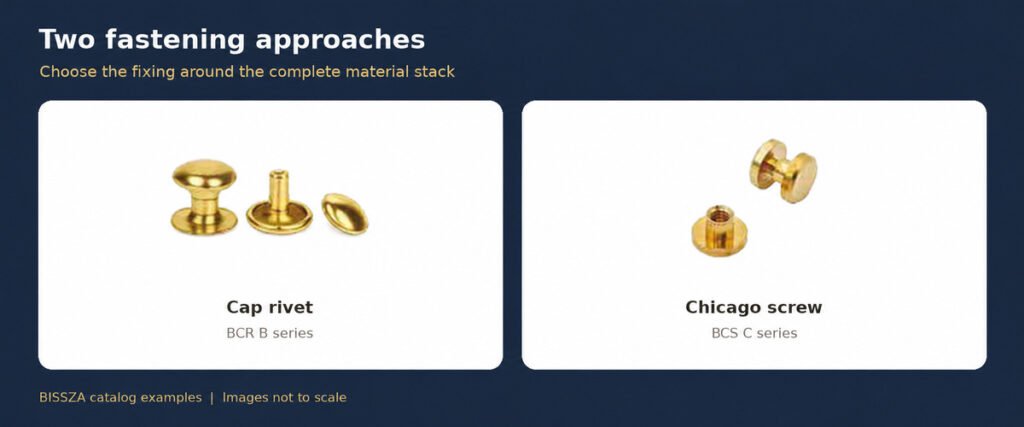
Rivets secure layers at an attachment point; Chicago screws use a threaded connection that can be removed when the design permits access. They can give a similar visual result while changing how the bag is assembled or repaired.
Choose the fastening around the complete material stack, including any backing. A cap diameter describes the visible head, not the length needed to pass through the leather. BISSZA’s BCR68B brass cap rivet is listed at 6 × 8 mm. Keep that catalog size tied to the model and confirm the drawing and setting requirements before treating either figure as a working dimension.
Eyelets bag feet and corner protectors
Eyelets finish and reinforce holes used for drawstrings or other connections. Bag feet create small contact points beneath a supported base. Corner protectors cover exposed corners. These parts address different areas of wear and are not interchangeable.
A soft base can still touch the surface between its feet. Likewise, an eyelet does not replace the reinforcement needed around a loaded opening. Include these fittings where the bag structure gives them a useful job, rather than adding them as automatic signs of quality.
Purse frames
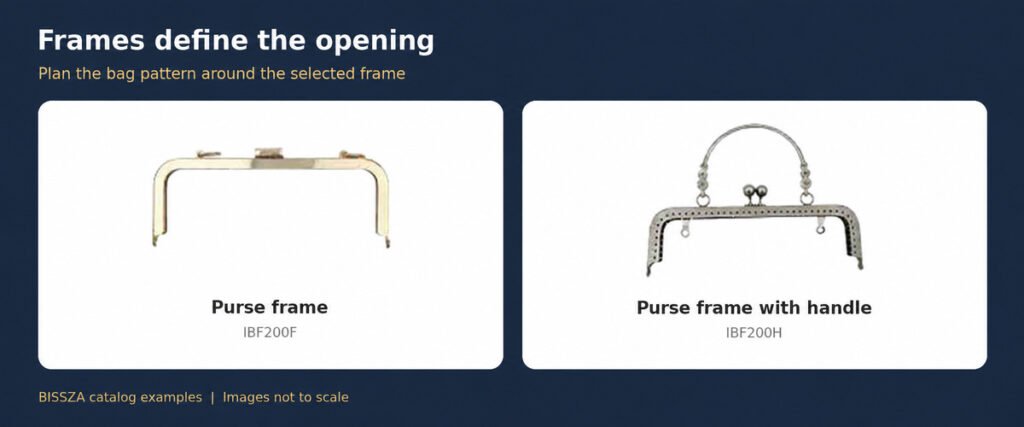
A purse frame forms a rigid opening and may include its own clasp. It is a structural part of a frame bag or clutch, rather than a lock that can simply be added to any finished bag.
Plan the opening shape and attachment method with the frame. BISSZA lists steel bag frames, including IBF200H at a catalog size of 200 mm. That entry does not provide every dimension needed for the bag pattern, so confirm a drawing and sample before cutting the body panels.
Magnetic snaps and mechanical locks
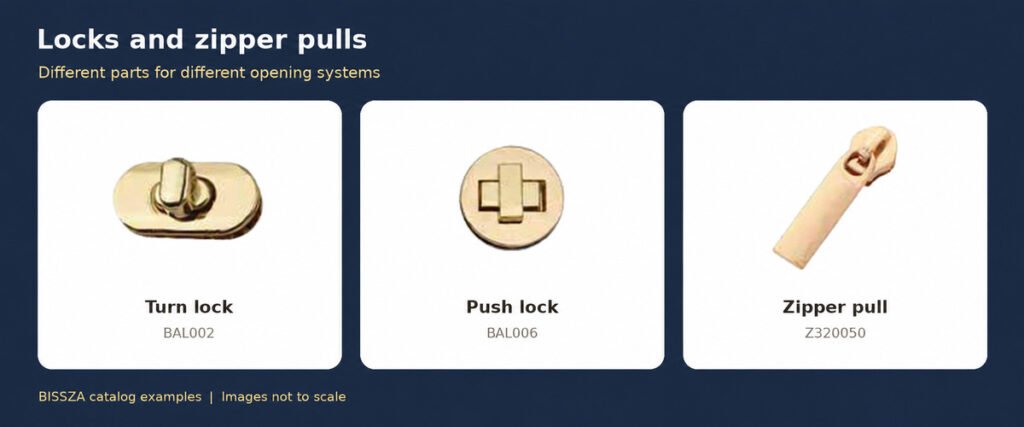
Magnetic snaps bring two matching parts together for convenient closure. Turn locks and push locks use a mechanical action to hold and release a flap. A visible lock can become a focal point; a concealed magnetic closure leaves more of the leather surface uninterrupted.
The closure should suit how the opening moves. Check its position on the actual flap rather than treating it as a detail to add after the pattern is finished. A magnetic snap and a turn lock are alternatives for some designs, not parts every bag needs together.
Zippers and zipper pulls
A zipper closes an opening along a continuous line, making it useful for main compartments and pockets. The pull is the piece you hold to move the slider; it does not replace the slider or the rest of the zipper system.
A longer pull can be easier to grip, while a compact pull may suit a small pocket. Keep its movement clear of the leather edge and lining. BISSZA’s Z320050 zipper pull is listed as Zamak, with a length × width of 20 × 5 mm. That describes the pull, not the zipper size it fits.
How the parts work together
Think in complete connections. On a detachable crossbody strap, hooks make the strap removable, rings connect it to the bag, and a slider controls length. The leather tabs and their reinforcement complete that system.
A frame clutch may use an optional chain alongside a purse frame with a clasp. An open tote with sewn handles may use very little exposed metal. These are design examples, not fixed component lists. Start with how the bag opens and carries, then identify the parts needed for each action.
How hardware changes function and style
Hardware influences grip, strap movement, opening access, and the weight of the finished bag. It also changes what catches the eye: a long chain, an antique buckle, or a polished lock each creates a different emphasis.
For a black handbag with gold hardware, the contrast can make a logo or lock stand out. A quieter finish can keep attention on the leather and shape. Neither choice establishes a quality level. Approve the visible pieces together, since “gold” alone does not describe a precise shade or gloss.
Base material and finish are separate specifications. BISSZA’s catalog lists finishes by material, so an option shown for one base metal should not be assumed available for every component. Keep color, proportion, and function consistent across the set.
Build a hardware list around the bag
Mark each fitting on a bag sketch and give it a job: close, connect, adjust, fasten, protect, or decorate. Record the quantity per bag and the parts it touches. This makes it easier to identify a missing connector or a decorative piece being asked to carry weight.
Use catalog models to describe the starting point, then confirm the actual measurements and attachment details. For the next stage, see BISSZA’s Bag Hardware for Leather Goods Production: A Selection Guide. Once the basic parts are clear, you can discuss materials, fit, and sampling without confusing one component with another.
Frequently asked questions
Are bag hardware and purse hardware different categories?
Bag hardware is the broader term; purse hardware usually refers to fittings for handbags and smaller purses. The names overlap. Identify the component and its job rather than assuming the wording guarantees a particular size or construction.
Is every metal handbag accessory functional?
No. Some fittings primarily provide decoration or branding. A decorative piece should only be used as a loaded connection if its construction and attachment have been specified and verified for that role.
Can I replace one part with a similar-looking fitting?
Not on appearance alone. A replacement must fit the mating parts and installation points and provide the intended operation. Changes to the fixing may also affect the surrounding leather or lining.
Can the same hardware be used on leather and fabric bags?
Some components can, but the fixing must suit the material and reinforcement. A fitting that sits securely in a leather assembly may require a different backing or attachment method in fabric.
What does high-end handbag hardware mean?
It is a positioning term, not a universal technical specification. Translate it into requirements for appearance, operation, fit, and durability. A heavier part or a gold-colored finish does not establish those qualities by itself.
What should I send a handbag hardware supplier for an initial discussion?
Send a labeled bag sketch, the intended function of each part, quantities, strap and material details, and a finish reference. Add catalog model numbers where useful. The list is a starting point for confirming the specification, not a substitute for a sample.
Put each part to work
Build the hardware list from your bag’s opening, carrying method, and attachment points. Keep decorative parts separate from loaded connections. Share your sketch and preferred BISSZA catalog models with us to discuss the component set before sampling.